

Winter HVAC Checklist: How to Prepare Your Heating System for the Massachusetts Cold
Follow this winter HVAC checklist before the first cold snap hits. Filter, tune-up, thermostat, and warning signs to check on your furnace, heat pump, or mini-split — from Top Climate.
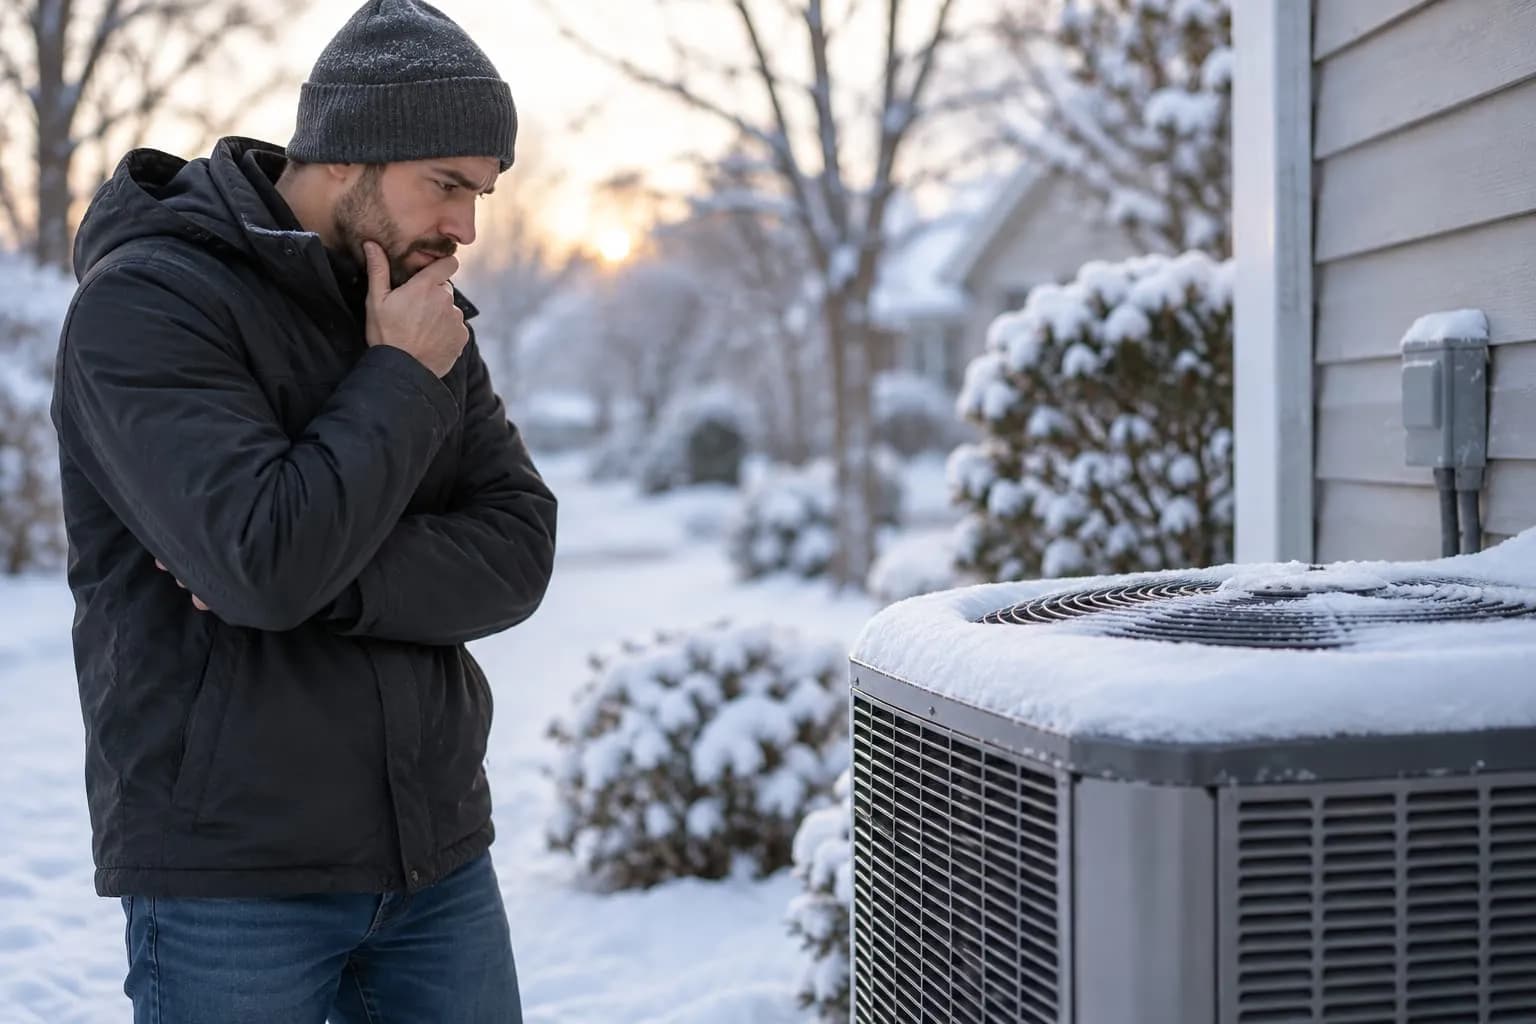
It's the first genuinely cold morning of the year. You reach for the thermostat, bump it up five degrees, and wait. And wait. Either nothing happens, or the system kicks on with a burning-dust smell and a rattle you don't remember from last March. Now you're calling for emergency heating repair on the coldest week of the year — right when every other homeowner in Massachusetts is doing the same thing.
The good news: almost all of this is preventable. A heating system that fails in January usually gave warning signs back in October — they just went unnoticed because nobody was running it yet. Preparing your HVAC system before the cold arrives isn't just about comfort; it's about avoiding the exact week when repairs are slowest and most expensive to schedule.
Here's a complete walkthrough of what "getting ready for winter" actually means for your system, whether you're running a furnace, a heat pump, or ductless mini-splits — this winter HVAC checklist covers all three.
The Fall Prep Timeline at a Glance
Think of winter prep as three checkpoints, not one big task:
- 🍂 September–October. Schedule your professional tune-up and replace filters before the seasonal rush.
- 🌡️ Before the First Freeze. Test-run the system, listen for warning signs, clear outdoor units and vents.
- ❄️ Mid-Winter. Keep changing filters and watch for ice buildup on heat pumps and mini-splits.
Why Fall Prep Matters More Than People Think
Your heating system has likely been sitting idle since spring. Dust has settled in the ductwork, the filter hasn't been touched, and small issues — a worn belt, a slightly loose electrical connection, a refrigerant level that's crept down — haven't had a chance to show themselves under load. The moment you demand full heating output on a 20°F night, all of those small issues get tested at once.
Scheduling a tune-up in October or early November, before the seasonal rush, also means:
- You get an appointment on your schedule, not whoever's left after a cold snap.
- Technicians catch problems while parts are still in stock and turnaround is fast.
- You're paying for routine maintenance instead of emergency service rates.
The Complete Winter HVAC Checklist
Work through this checklist room by room:
- Replace or clean the air filter
- Schedule a professional HVAC tune-up
- Review thermostat schedule and settings
- Clear vents, registers, and outdoor units
- Test-run the system and check for warning signs
- Check insulation and weatherproofing around the home
Step 1: Replace or Clean the Air Filter (DIY)
This is the single most-skipped task, and it's the cheapest one to fix. A clogged filter restricts airflow, forces your system to work harder, and can cause a furnace to overheat and shut itself off (a safety feature, but an annoying one at 2 a.m.). If you have a standard 1-inch filter, plan to replace it every 60–90 days through the heating season — more often if you have pets. Mini-split indoor units have washable filters that should be rinsed and dried before the season starts.
Step 2: Schedule a Professional Tune-Up (Call a Pro)
A visual check from the living room won't catch what a technician will. A proper pre-season tune-up typically includes:
- Testing ignition and burner operation on furnaces
- Checking heat exchangers for cracks (a genuine safety issue, not just an efficiency one)
- Verifying refrigerant charge on heat pumps and mini-splits
- Inspecting electrical connections and tightening anything loose
- Calibrating the thermostat and confirming it communicates correctly with the system
- Clearing condensate drains so they don't back up mid-season
Think of this the same way you'd think of an oil change — it's routine, it's inexpensive relative to the alternative, and it's the reason small issues never become 6 a.m. no-heat calls.
Step 3: Check Your Thermostat Settings and Programming (DIY)
If you switched to a smart thermostat over the summer for cooling, take a few minutes to review the heating schedule. A programmable or smart thermostat set to drop a few degrees while you're asleep or away can meaningfully reduce your heating bill without any change in comfort. This is also a good time to replace thermostat batteries if applicable — a dead thermostat looks exactly like a dead furnace from where you're standing. If you want a fuller breakdown of where that savings comes from, we cover it in how to save on heating and cooling costs in Massachusetts.
Step 4: Inspect and Clear Vents, Registers, and Outdoor Units (DIY)
Walk the house and make sure furniture, rugs, and curtains aren't blocking supply and return vents — blocked airflow is one of the most common (and most avoidable) causes of uneven heating room to room. If you run a heat pump or mini-split system, check the outdoor condenser unit too: clear away leaves, mulch, and debris, and make sure there's at least a foot of clearance on all sides so airflow isn't restricted once the snow starts piling up.
Step 5: Look — and Listen — for Warning Signs Now, Not in January (Inspect First)
Before you actually need the system running around the clock, turn the heat on for an hour on a mild day and pay attention:
- 👃 Odd Smells. A brief dusty smell in the first few minutes is normal as dust burns off. A persistent burning or musty smell is not — turn the system off and call a technician.
- 🔊 Unusual Noises. Banging, rattling, or a high-pitched squeal usually points to a mechanical issue — a loose panel, a failing blower motor, or a worn belt.
- 🌡️ Uneven Heating. If some rooms are noticeably colder, it could be a ductwork issue, a closed damper, or a system that's simply undersized or losing efficiency.
- 🔁 Short Cycling. If the system turns on and off frequently instead of running a full cycle, that's often a sign of a clogged filter, a thermostat problem, or a system that's struggling.
Catching any of these now gives you weeks of lead time instead of hours. The same principle applies in reverse each spring — see our guide to early AC warning signs before summer if you want to get ahead of cooling-season problems too.
Step 6: Check Insulation and Weatherproofing Around the Home (DIY)
Your HVAC system doesn't work in isolation — it's fighting whatever heat is escaping through gaps and thin insulation. A quick pass around windows, doors, and the attic hatch for drafts can meaningfully reduce how hard your system has to work all winter. This won't show up on an HVAC inspection, but it directly affects your heating bill and how evenly your home stays warm.
Furnace vs. Heat Pump / Mini-Split: Winter Prep at a Glance
- Filter. 🔥 Furnace: replace disposable filter every 60–90 days. ❄️ Heat Pump / Mini-Split: rinse and dry the washable indoor filter.
- Outdoor Unit. 🔥 Furnace: N/A. ❄️ Heat Pump / Mini-Split: clear debris, keep 12in clearance, elevate off the ground.
- Cold-Climate Rating. 🔥 Furnace: built for heat — not applicable. ❄️ Heat Pump / Mini-Split: confirm cold-climate rating if used as primary heat source.
- Ice or Frost. 🔥 Furnace: N/A. ❄️ Heat Pump / Mini-Split: let the defrost cycle run; never manually chip away ice.
- Tune-Up Focus. 🔥 Furnace: heat exchanger, ignition, burners. ❄️ Heat Pump / Mini-Split: refrigerant charge, electrical connections.
Mini-Split and Heat Pump Owners: A Few Extra Notes
Ductless systems and heat pumps have become increasingly common across Massachusetts homes. If you're still deciding between a mini-split, central air, or another option, our comparison of AC unit types walks through the tradeoffs — but once you have one, here's what winter prep looks like specifically for these systems:
- Confirm your unit is rated for cold-climate performance if you're relying on it as a primary heat source through winter — not all heat pumps maintain efficiency at very low temperatures.
- Keep the outdoor unit elevated slightly off the ground or on a stand so it doesn't get buried or surrounded by snow and ice.
- Never manually clear ice off the coils — let the unit's defrost cycle handle it, or call a technician if ice buildup seems excessive.
When to Call a Professional vs. When to DIY
Filter changes, clearing vents, and checking for obvious drafts are all reasonable homeowner tasks. Anything involving the heat exchanger, refrigerant, gas connections, or electrical components should go to a licensed technician — both for safety and because catching a small issue during a scheduled visit is far cheaper than an emergency repair once it fails outright.
The Bottom Line
Winter HVAC prep isn't a big project — it's a handful of small checks that take an afternoon and save you from the worst version of a cold morning: no heat, a fully booked service schedule, and a house full of people wearing coats indoors. The best time to do it is before you actually need the heat running at full capacity, not after.
Ready to get your system checked before the temperature drops? Schedule your fall heating tune-up today. Call (339) 224-8416.
Frequently asked questions
The best time is early fall, ideally September or October, before temperatures drop and before service schedules fill up. This gives technicians time to order parts if something needs replacing and lets you fix small issues before you're relying on the system every day.
Replace a standard 1-inch filter every 60 to 90 days during the heating season, or every 30 to 45 days if you have pets or allergy concerns. A dirty filter restricts airflow, forces the system to work harder, and can trigger safety shutoffs on the coldest nights.
Modern cold-climate heat pumps are rated to operate efficiently well below freezing and are increasingly used as a primary heat source in Massachusetts. Check your unit's cold-climate rating, and keep the outdoor unit clear of snow and ice buildup for reliable performance all winter.
Yes. The cost of a routine tune-up is almost always far lower than an emergency no-heat repair call during the peak of winter. Scheduling ahead also means better appointment availability and standard, not emergency, service rates, and you catch small problems while parts are still easy to get.
A brief, mild dusty smell in the first few minutes of the season is normal, because dust is burning off the heat exchanger. If the smell is strong, persistent, or smells like plastic or gas, turn the system off and call a technician right away.
Homeowners can safely handle filter changes, clearing vents and outdoor units, and checking for drafts. Anything involving the heat exchanger, refrigerant, gas lines, or electrical components should be left to a licensed technician for both safety and warranty reasons. We can handle those parts for you.
Read more
 Why Is My AC Blowing Warm Air? A Homeowner’s Guide to Diagnosing the Problem Before It Becomes an Expensive RepairIs your AC running but your house is still hot? Learn the most common reasons your air conditioner blows warm air and what to check before calling for repair.
 Which AC Unit Is Best for You: Window, Portable, Central, or Mini-Split?
 Do You Need a Whole-Home Humidifier? Signs, Benefits, and What to ExpectImprove your home comfort and air quality with a whole-home humidifier. Top Climate offers professional humidifier installation in Massachusetts. Get a free estimate today.